Bar Mount Fitting Instructions
How to fit Renthal® Bar Mounts
Fitting Renthal® Bar Mounts is a relatively simple task that only takes a few steps. For most applications, unless changing the handlebars, controls and grips can remain on the handlebar when disassembling. When upgrading to Renthal® Fatbar36 and 36Tech Bar Mounts this will be the first step in the upgrade process.
Before Fitting : Review Bar Mount Important Safety Information
Time Required : 1hr
Tools Required : Torque Wrench, Sockets, Hex Keys, Torx Keys, Motorcycle Manual
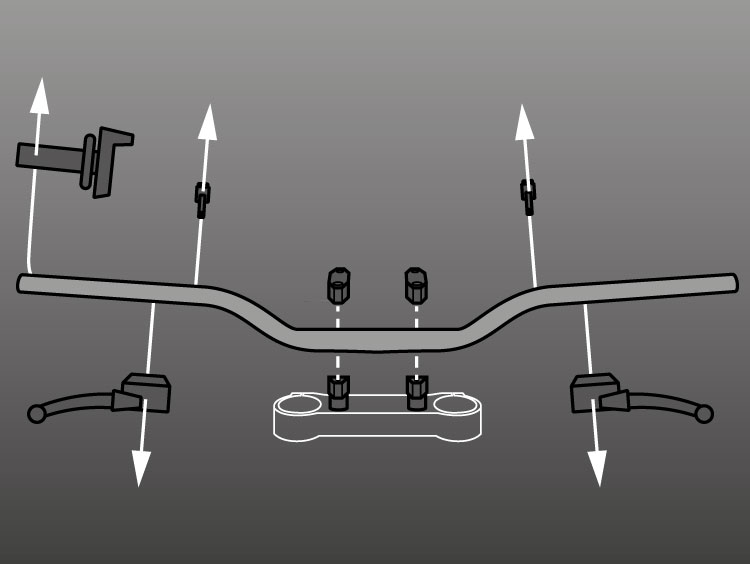
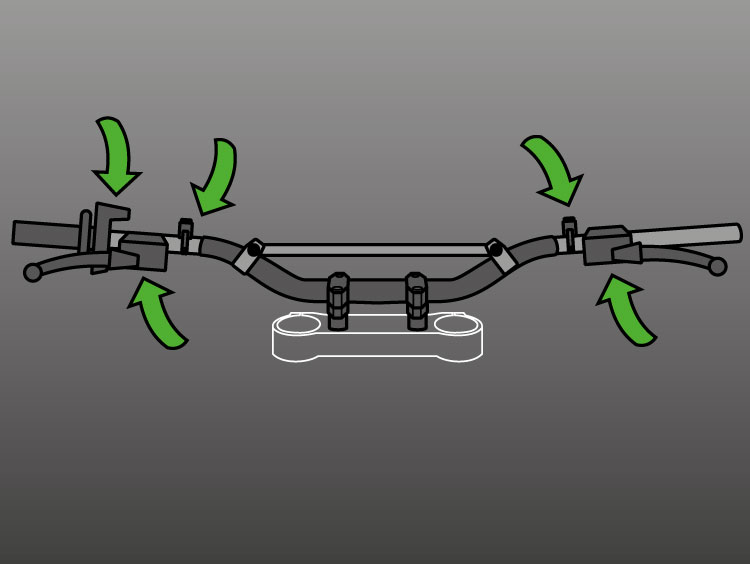
Step 1 : Remove Handlebar and Bar Mounts
Following your motorcycle manual, remove the handlebar and stock bar mounts.
Step 2 : Prepare Renthal Bar Mount Kit for assembly
Open the Renthal Bar Mount pack and grease all threads and under head including top mount bolts fasteners using a high pressure lube. Once greased assemble the the mounts ready for assembly onto the triple clamp.
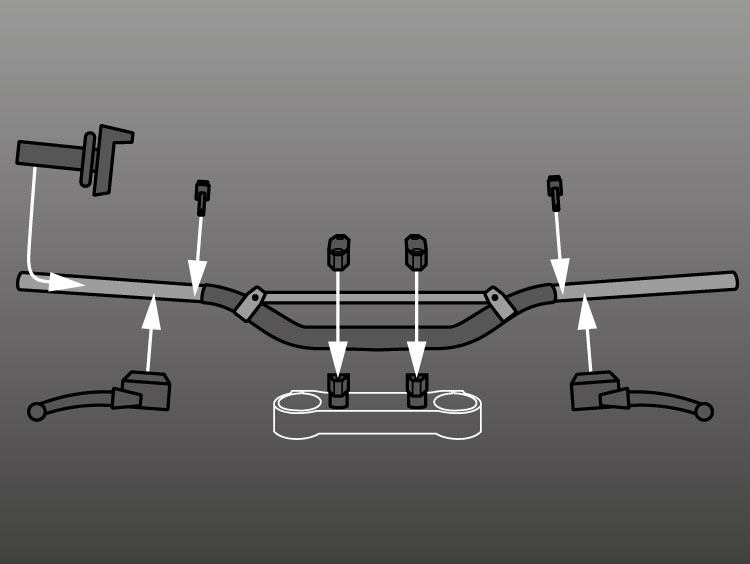
Step 3 : Mount the Bar Mounts to triple clamp
Assemble the bar mounts to the triple clamps, ensuring they are positioned correctly. Depending on the design of the triple clamp the process can differs. Consult motorcycle manual if you are unsure.

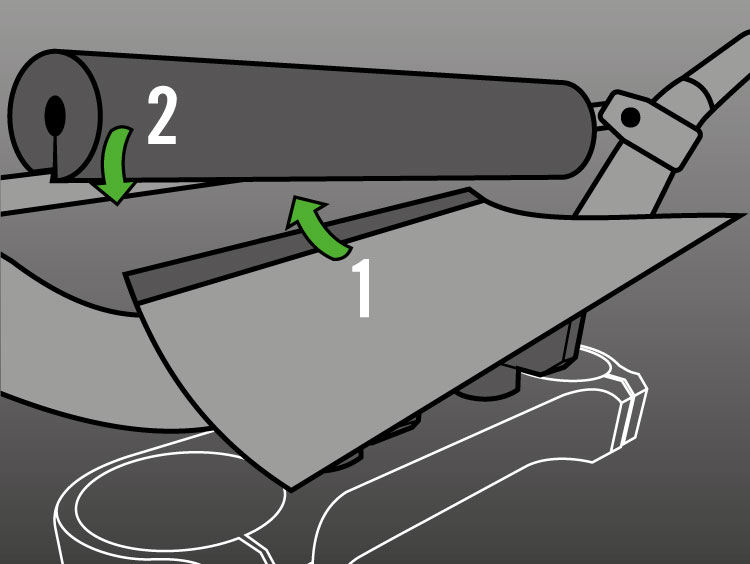
Step 4 : Align the lower bar mount
With the lower mounts still loose, install your handlebar in the bar mounts. This helps align the bar mount in correct direction.
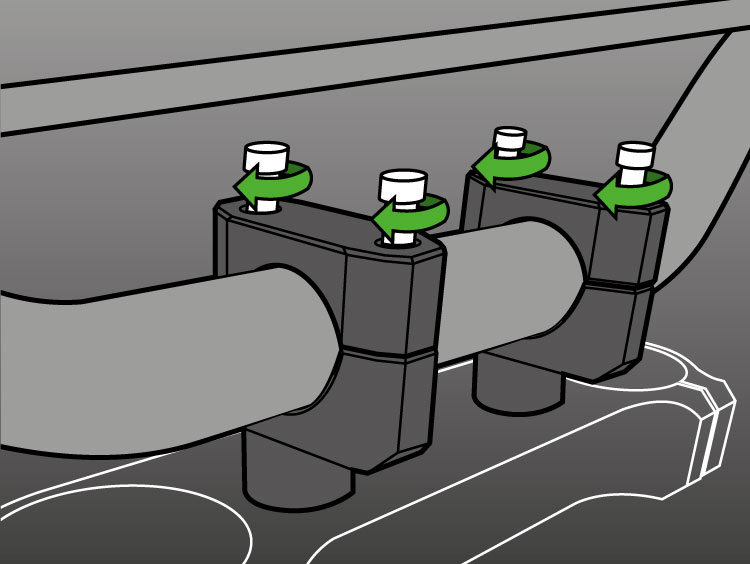
Step 5 : Tighten Bar Mounts Fittings
With the handlebar in position, Using a calibrated torque wrench, torque the bar mounts to the triple clamps.
Step 6 : Position handlebar and torque top mounts
Set the handlebar up to the rider preference, then using a calibrated torque wrench, torque the top bar mounts to the specified setting.