7/8in Handlebar Fitting Instructions
How to fit Renthal® 7/8th inch Handlebars
Fitting a set of Renthal® 7/8in Handlebars is a relatively simple task. Before starting this installation ensure the throttle, brake, clutch and any switches are removed. The Renthal® Twinwall® install video below will give you a good understanding of fitting handlebars, although the mounting diameter is larger on the Twinwall® (1-1/8in vs 7/8" or 28.6mm vs 22.2mm) the task of installing handlebars is the same. You just need to be concious of the difference in mounting diameter.
Before Fitting : Review 7/8in Handlebar Important Safety Information
Time Required : 1hr
Tools Required : Torque Wrench, Hex Keys, Torx Keys, Motorcycle Manual
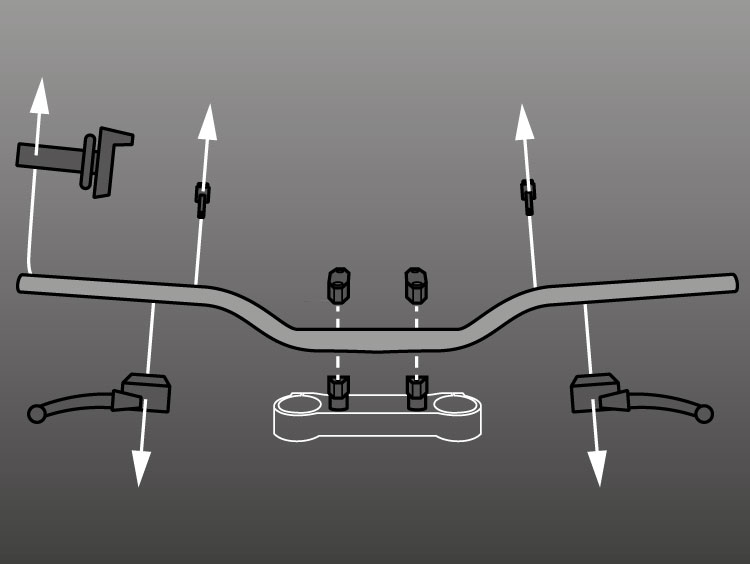
Step 1 : Remove controls and existing handlebar off motorcycle
Following the manufacturers suggestion remove the existing handlebar and controls off the motorcycle.
Step 2 : Fit Throttle, Brake, Clutch and Switches to the 7/8in Handlebar®
In reverse order you took the parts of re-fit them to the 7/8in Handlebar. At this stage the handlebar control parts do not need to be tightened fully.
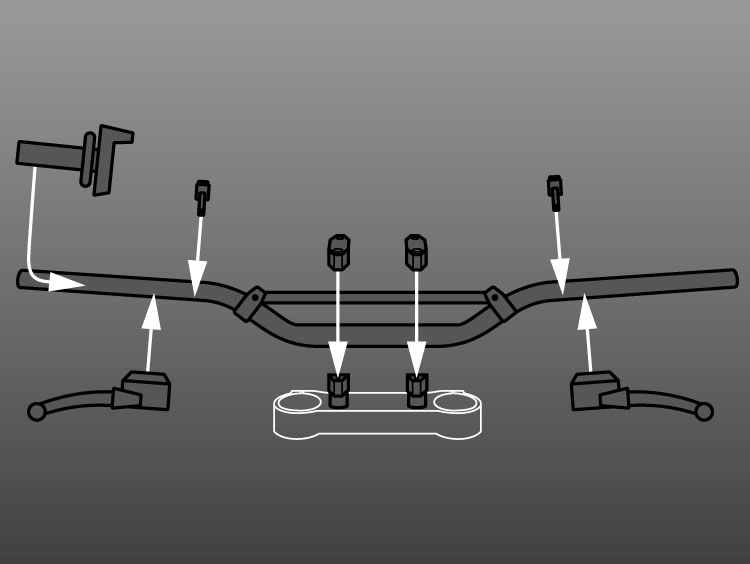
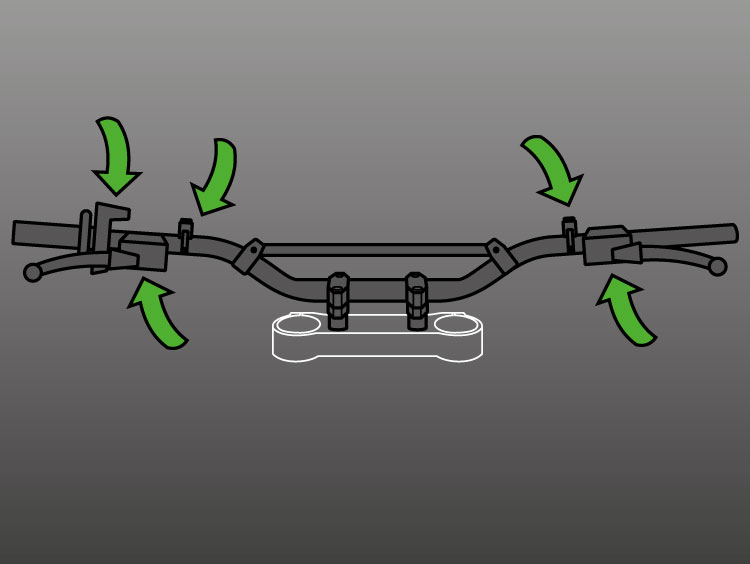
Step 3 : Fit 7/8in Handlebar into Bar Mount and position to rider setup
Place 7/8in Handlebar into the bar mounts and lightly tighten the fasteners. Position the 7/8in Handlebar to the riders desired position and hold.
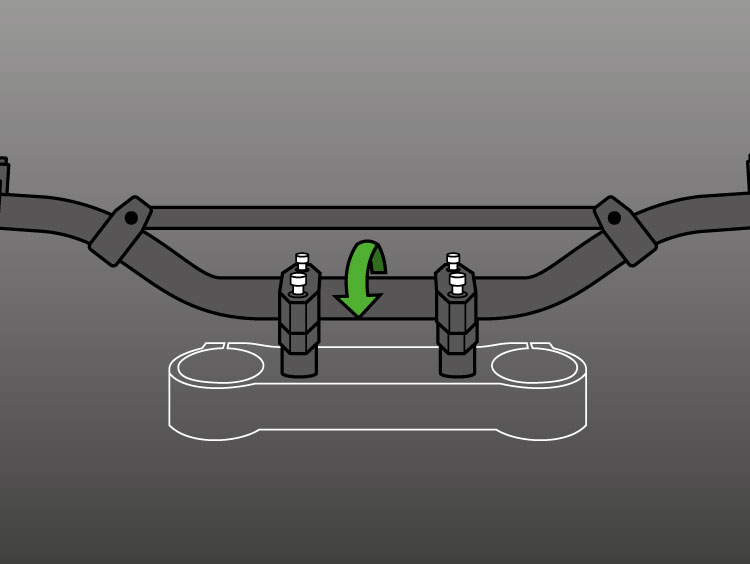
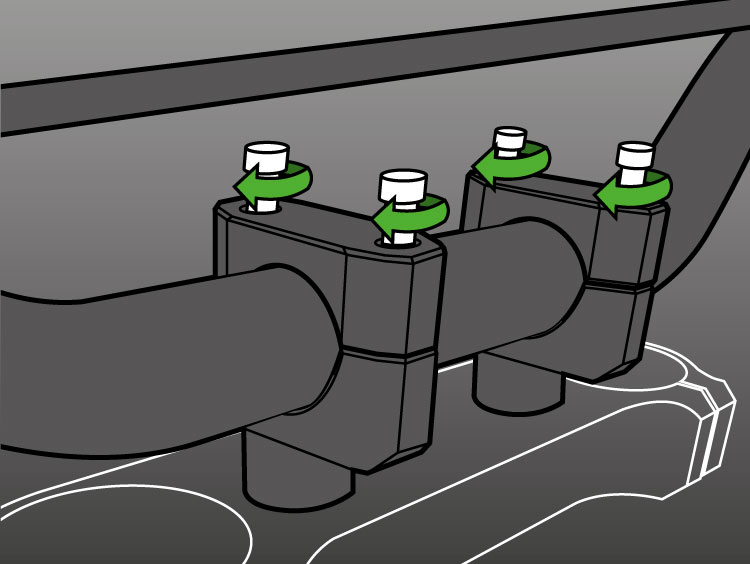
Step 4 : Tighten the bar mount fasteners (Do Not Exceed 18Nm)
Whilst holding the 7/8in Handlebar in position apply the bar mount manufacturers torque to the mounts, remembering to not exceed 18Nm .
Step 5 : Position and tighten the control to riders preference
Move the controls and switches along the handlebar and roll them into the riders preferred position, before tightening to the correct torque
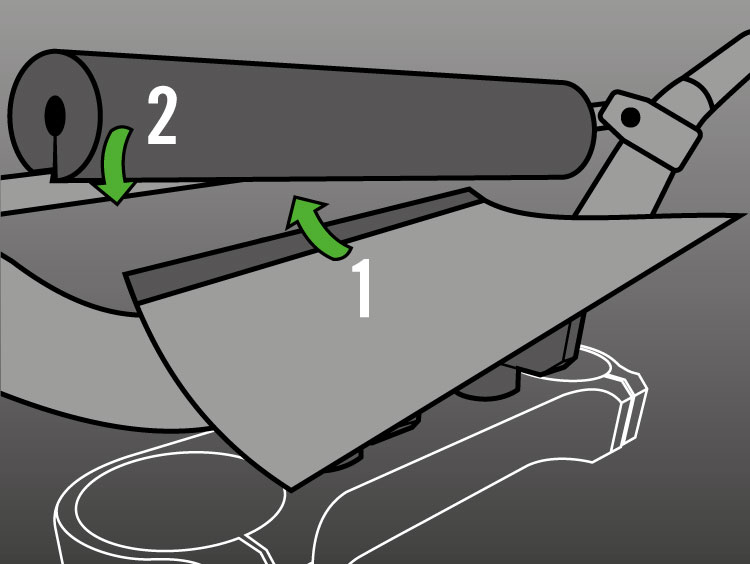
Step 6 : Fit the Renthal® Bar Pad
With the bars setup, simple feed the cover between the mounting section and the brace, slide the foam along the brace and cinch up the velcro. Ensure the Text is facing outwards to complete the Pro look.